GitLab Tokens for SCM Bulk Integration and/or Monitoring
Overview
Note: Available only for GitLab SaaS (Premium and
Ultimate).
Creating an access token
Authentication between GitLab and Polaris is managed with an access token that you create in GitLab. If you haven't done so already, create an access token. For additional information: GitLab Docs > GitLab token overview.
Important: Must be created in GitLab SaaS
(Premium or Ultimate). Free version does not allow users to create
webhooks.
Important: Token must be
created by a GitLab Organization Owner or users with the "Manage
organization webhooks" permission, who are authorized to manage organization
webhooks. Although other GitLab users may be able to select the scope
requirements when creating a token, the token will not work due to
permission requirements in GitLab to manage organization webhooks.
When creating an access token:- Select your avatar.
- Select Edit profile.
- On the left sidebar, select Access tokens.
- Select Add new token.
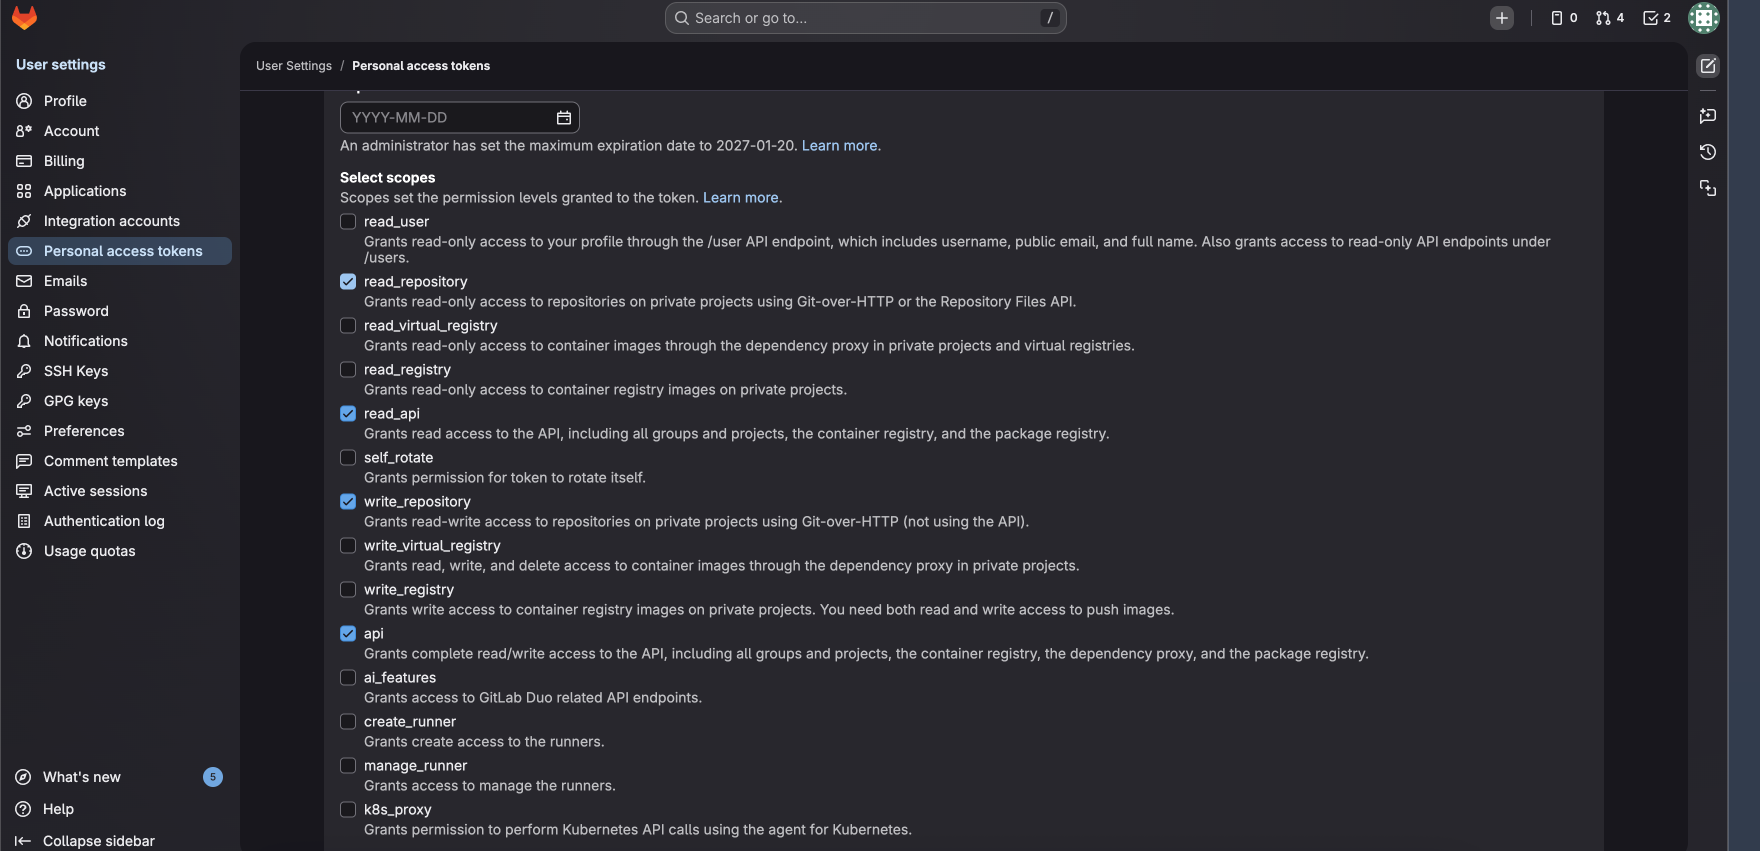
- Set the token's expiration date. We recommend setting a maximum expiration period, to avoid issues.
- Select the role (for Project/Group Access Tokens). Select any role above “Guest”.
- Under Select scopes, select read_repository,
read_api,
write_repository and
api.
Important: Store your token in a secure
location. Each time you modify a project's SCM integration, you'll need to
reenter the token to save your changes.
Next Steps
Use this token to connect to Polaris:
After the connection is established:
You can also scan on demand (see How to test from the web UI) or schedule automatic testing on a daily or weekly basis (see Test scheduling policies).
Note: From the Tests screen, before
beginning a test manually, make sure to test the connection.