GitLab SaaS
Prerequisites
Creating an access token
Authentication between GitLab and Polaris is managed with an access token that you create in GitLab. If you haven't done so already, create an access token. For additional information: GitLab Docs > GitLab token overview.
- Select your avatar.
- Select Edit profile.
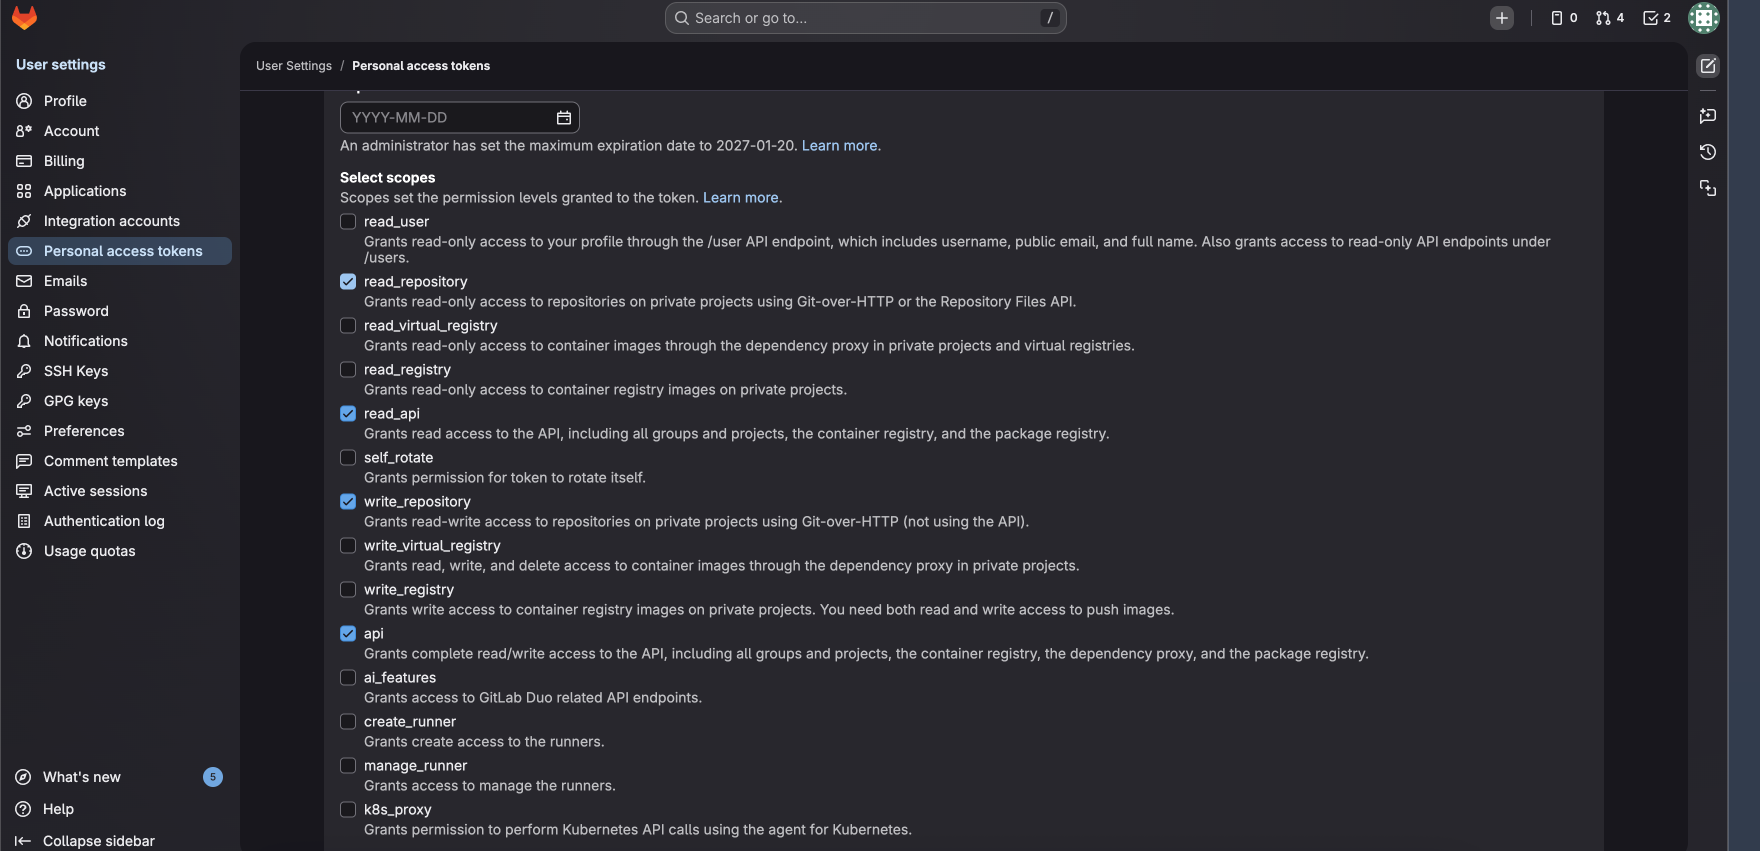
- On the left sidebar, select Access tokens.
- Select Add new token.
- Set the token's expiration date. We recommend setting a maximum expiration period, to avoid issues.
- Select the role (for Project/Group Access Tokens). Select any role above “Guest”.
- Under Select scopes, select read_repository,
read_api,
write_repository and
api.
SCM bulk onboard to create applications and projects
-
Repository Mapping: This will be different according
to which method is selected.
- Automatic Mapping: Lists the group/subgroup/repository names as applications and projects. You can view repositories to be imported by using the pulldowns (read only).
- Custom Mapping: Select New (type application name) or Existing (select application from pulldown), then select repositories from pulldowns under Projects. If an arrow is next to a name, you can click to select repositories within it. Click Add More to map repositories to multiple applications.
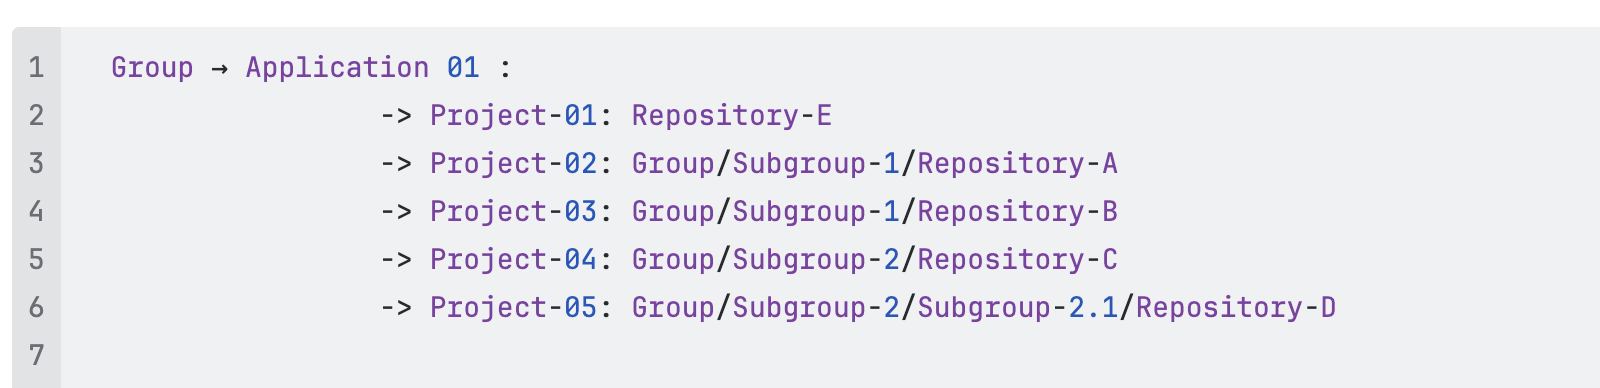
Note: In GitLab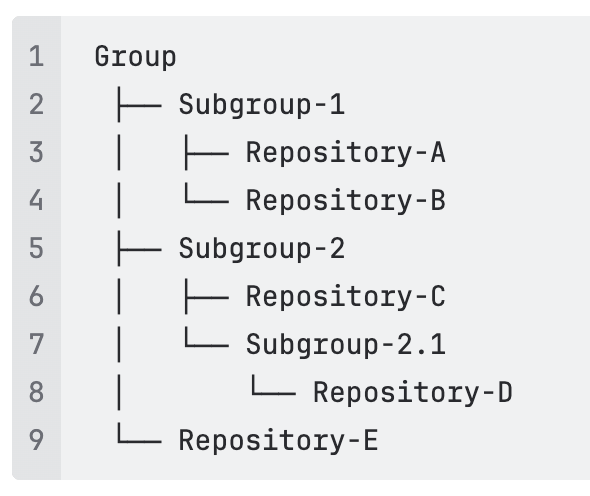
GitLab mapped to Polaris
Customizing onboarding (optional)
-
On your Portfolio page, a progress bar with a
percentage done will track your progress.

If the onboarding fails, an email notification will be sent to the user who initiated the onboarding. Detailed information on any synchronization failures can be obtained in Audit Logs.
Click Cancel to cancel the import. Any repository in the process of being imported at the time of cancellation will complete in the background after the cancel is accepted. Then all onboarding will be stopped immediately. For example, if you import ten repositories and cancel at 50%, five repositories would be imported and five repositories would not.
SCM bulk onboarding projects into an application
Next Steps
Change settings or add:
- Synchronizing Polaris with your SCM Provider
- Event-Based Test Automation in Polaris for SCM Integrations
You can also scan on demand (see How to test from the web UI) or schedule automatic testing on a daily or weekly basis (see Test scheduling policies).